Disclosure: this post may contain affiliate links, which means we may receive a commission if you click a link and purchase something that we have loved & recommended. While clicking these links won’t cost you any extra money, they will help us keep this site up and running! Please check out ourdisclosure policy for more details. Thank you for your support!
This easy, budget-friendly DIY wooden poster hanger will look perfect in your boho-inspired abode. Using just a few inexpensive materials, you can make it in any size thanks to this user-friendly tutorial and bring that “vintage educational charts’ feeling” onto your walls.
Hello my beautiful friends!
Today we’re making something that looks so stunning and will go perfectly in your boho-inspired home, a dreamy nursery with a vintage feel, a gallery wall or just about anywhere you want to hang a poster in a unique style. Yep, we’re talking about those rustic yet minimalistic, boho, old-school wooden poster frames that you’re seeing more and more of.
What’s so fascinating about them? Well first of all, they are reminiscent of old classroom maps and instructional charts.
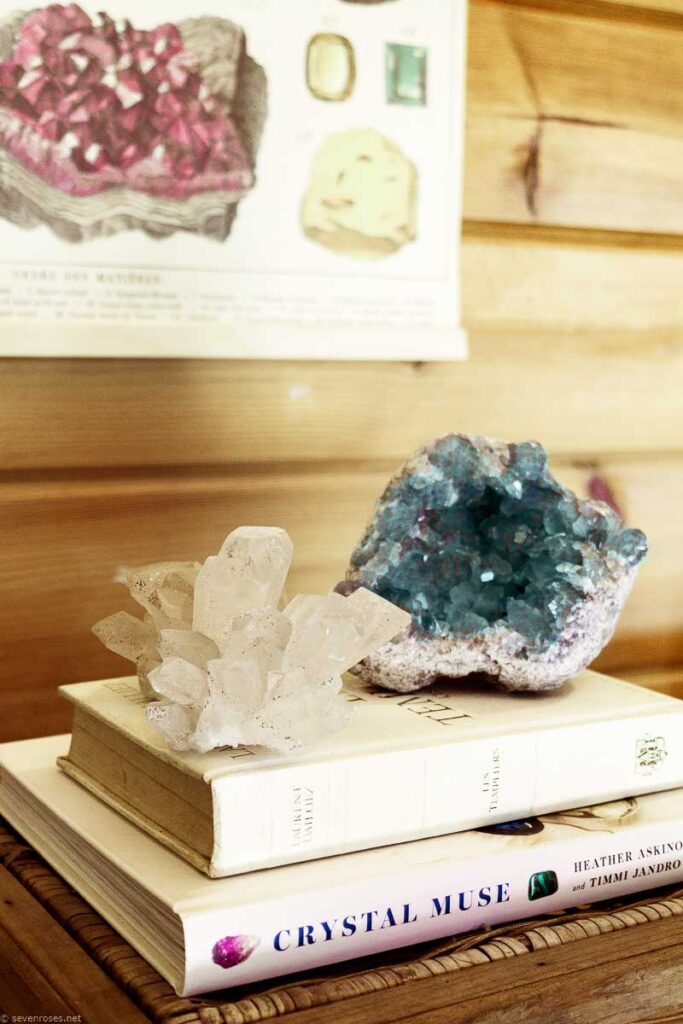
And it’s an inexpensive way to hang your favorite poster, photo, wallpaper sample, botanical print or colorful fabric: all would look equally mesmerising.
Some inspiration from Pinterest for you:
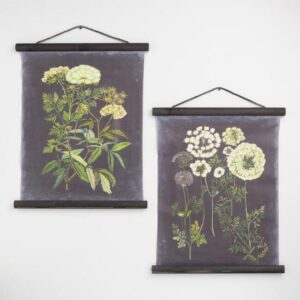

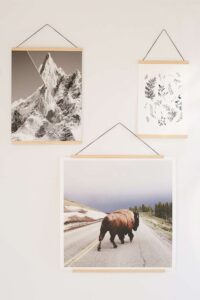
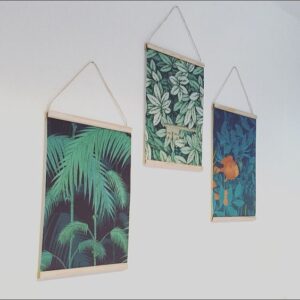


Boho wooden poster hanger inspo – photo source: Pinterest
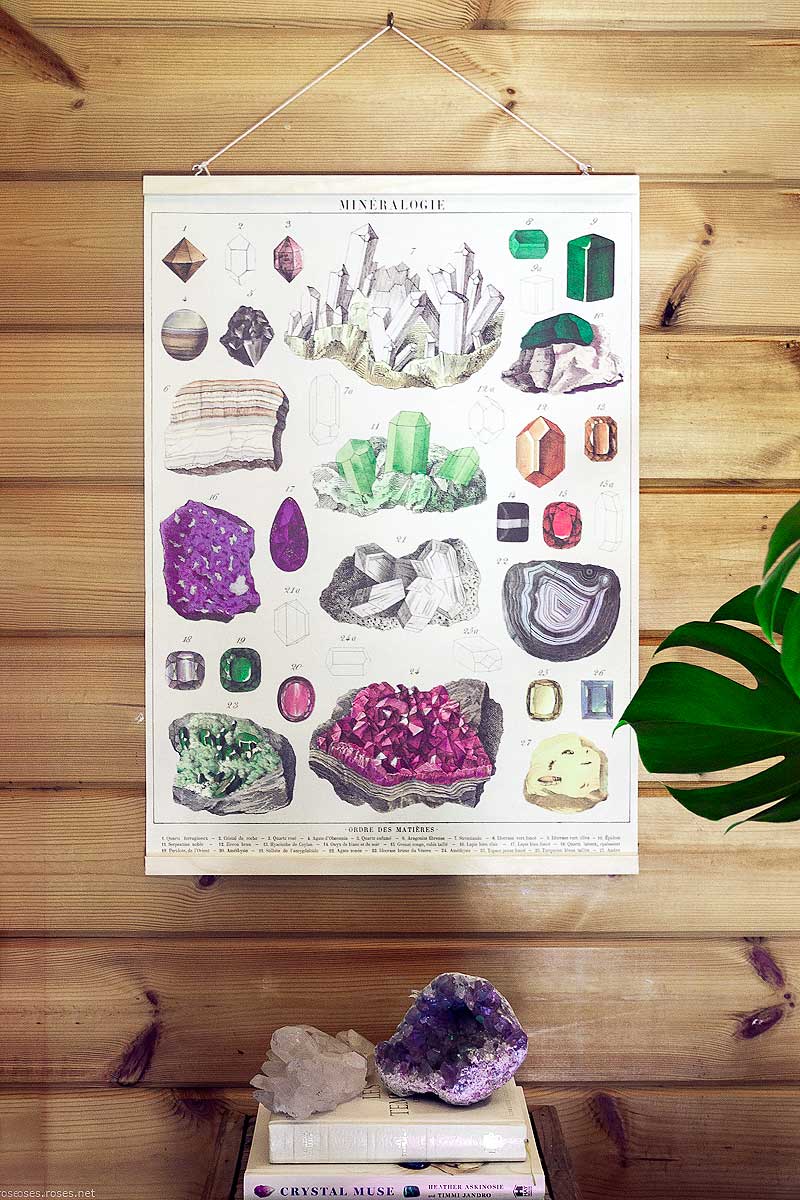
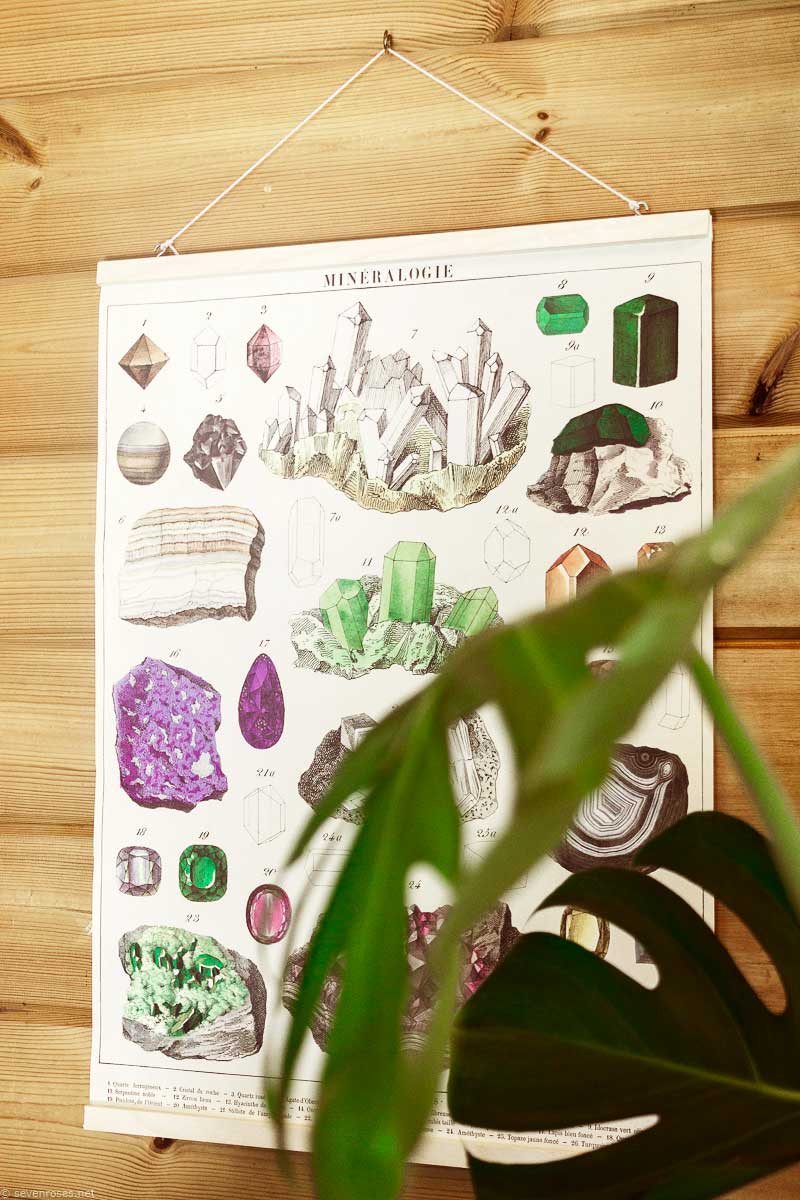
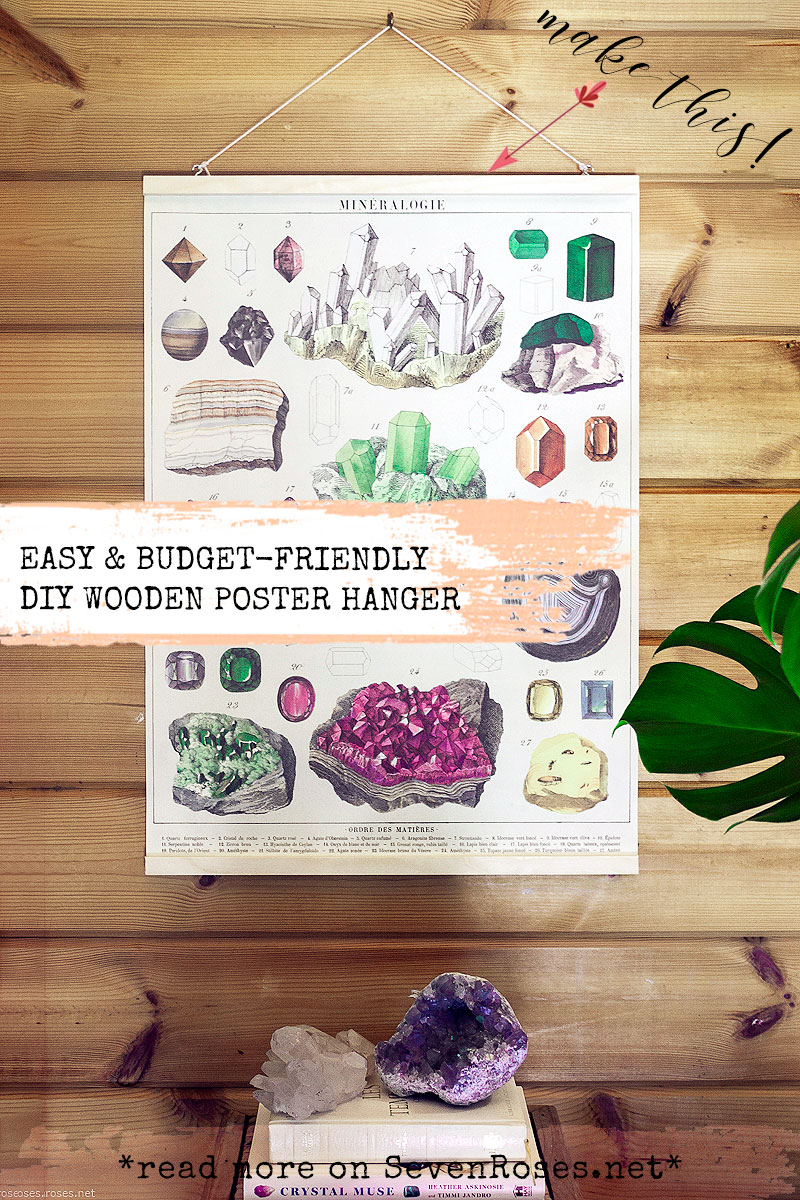
I’ve seen quite a few for sale, and not only some have outrageous prices, but this is something so simple to make that Fabien and I immediately decided to make our own boho wooden poster hangers. Especially since he bought a couple of these stunning vintage posters by Cavallini, printed on archival quality, Italian-made paper. The first one we hung, that you can see in these tutorial’s photos, is the Mineralogie Decorative poster.
We first saw it at a mineral & gem show, and fell in love with it, but it wasn’t for sale.
Besides being utterly fascinated by minerals and therefore feeling the urge to hang this in our place, this poster is so nostalgic of old textbooks and museum visits we just had to have it for our new cabin in the woods ^.^ (yes, we bought a house in case you didn’t know yet!).
I think next we’ll get the Arboretum and the Ferns ones that will go in the entryway/mudroom downstairs.
So we decided to make our own, but upon checking a few tutorials we’ve noticed that most people didn’t mind sticking staples or nails into the poster, which was a big no-no for us, or they were using magnetic strips that more times than not don’t resist the passing of time (and the weight) and end up being in pieces just after a short while (been there, done that).
Therefore we chose a different approach that 1) would not require piercing through the beautiful artwork you want to hang 2) would last a long time.
Enough talking, let’s start making this DIY Boho wooden poster hanger, shall we?

DIY wooden poster hanger: materials you’ll need
- ❥ 1 long strip of wood, cut into 4 pieces
❥ poster or artwork of your choice - ❥ measuring tape
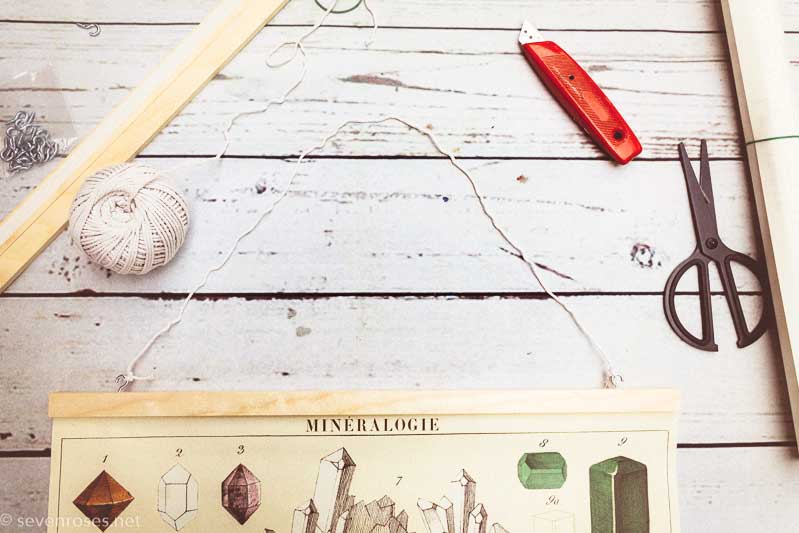
- ❥ cotton or jute twine
- ❥ pencil
- ❥ double-sided tape
- ❥ scissors
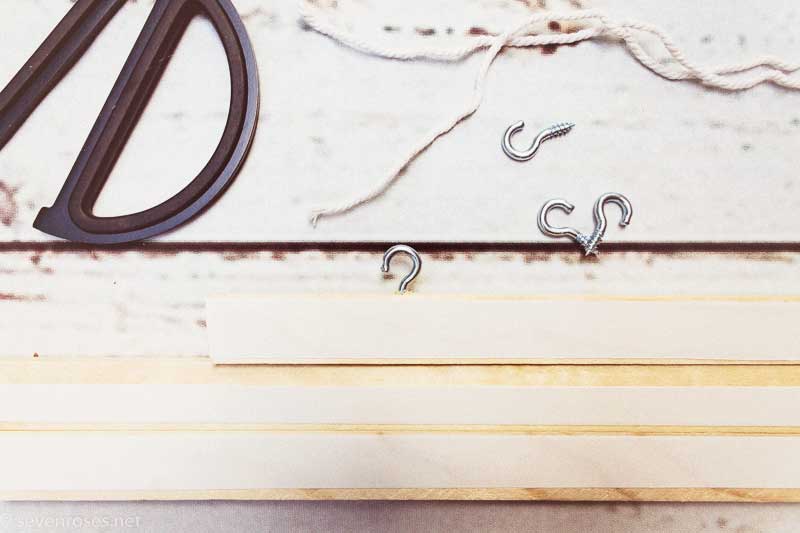
- ❥ 2 hooks
- ❥ sandpaper (optional)
- ❥ saw or electric saw
total cost: less than 5€!
total time: 10 minutes

DIY wooden poster hanger: tutorial
- 1 – Measure the width of your artwork and mark the same length on your wooden strip.
Cut with your (electric) saw.
You should end up with 4 strips of the exact same length, 2 for the top of the poster and 2 for the bottom.
Sand the edges if necessary. 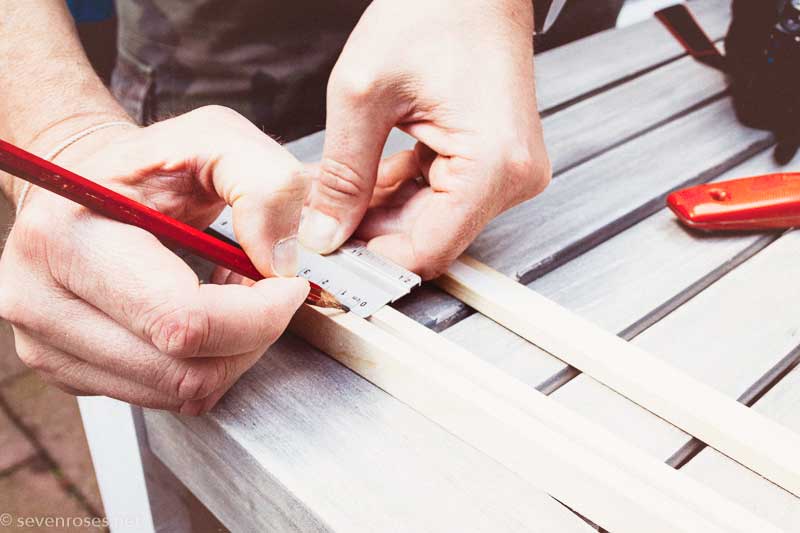
- 2 – Measure and cut the double-sided tape in the same length as the wooden strip, and apply to each strip.
Use your hand to smooth out any bubbles. 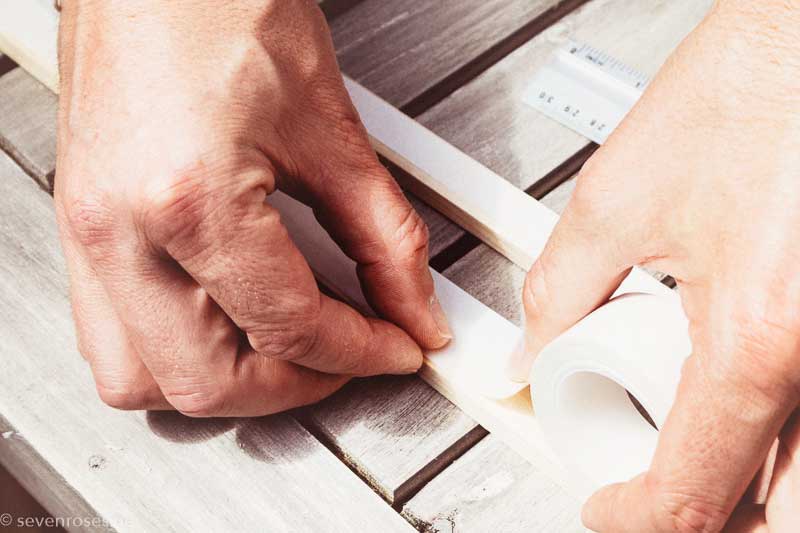
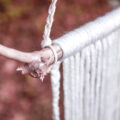
- 3 – Install the two hooks to one of the wood strips placing each hook approximately 2″ from each edge.
This will be your top front wooden strip. - Peel the the backing tape from the double-sided tape one wooden strip at a time, and carefully place the poster between 2 bottom wooden strips. Repeat for the top.
 4 – It’s time to measure your twine, it should be 1.5 times the length of your artwork, to have good proportions and hang beautifully.
Cut it and secure it by simply making 2 tiny double knots in the hooks.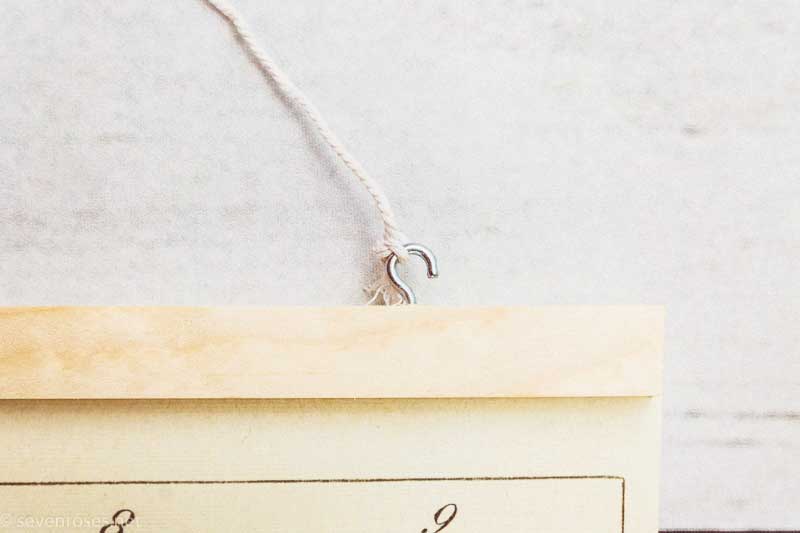
….And that’s it! Your DIY wooden poster frame is done! That was easy, wasn’t it?
10 minutes, 4 easy steps, and all is left to do is finding the perfect spot to hang your beautiful, Pinterest-worthy boho wooden frame :)
Keep in mind that you can customize this DIY wooden poster hanger as you prefer: you can stain the wood strips or paint them white or any other bright color that would fit your home decor better.
You can use silver hooks, golden hooks, rose gold or black hooks. You can use cotton twine or jute, faux leather or even a little chain, why not? Make it so that it will fit your unique vibe.
![]()
I hope you enjoyed this tutorial, let me know if you’re going to make it in the comments’ section down below!
Thank you Fabien for handling all the tools and for being my hand model :D
And don’t forget to pin this post to spread the love ♥
I wish you a love-filled day xoxo


Leave a Reply